Understanding and connecting the equipment may seem complex. It is not as difficult as it seems thanks to multi-windowing. This cuts the screen into multiple windows, each having a function. One may thus display the chart and sounder. Or one may display two levels of zoom on the map, the sounder and the radar. These individual pages are programmable by the user, based upon their activity. A positive development has been made to facilitate the use of the devices to avoid the re-reading of documentation after each winter period!
Two approaches to multi-function
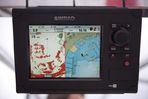
There are two manners in which to view the multi-function: -A card reader connected to the sensors -A card reader which serves as a display for a number of the elements connected to the system. The first device is the simplest, the least expensive but also the least evolutive. It consists of a screen (often between 7 and 8 inches) that incorporates a card reader, a GPS (internal or external) and perhaps a sounder module.
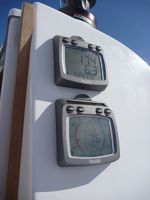
The basic instrumentation is intended for motorboats and small sailboats, intending to take day long coastal journeys. It is composed of a logspeedo, to know the surface speed of the vessel and a vane/anemometer to know wind direction and force. A digital sounder (numbered, nongraphic information,) completes the equipment. They are simple and have a read out dedicated to their function, except for some bi or tri-data models; a single screen for two or three sensors. Note that the log-speedo may also indicate water temperature.
Central navigation
If you are looking for more information and want true values (wind speed, drift, heading etc.) you must refer to a navigation unit. These central systems are designed for sailing, to find relevant information, or performance. On a regatta vessel, one puts the emphasis on a model giving as much information as possible on the actual wind (speed and direction) with the possibility of returning to the ship, specific data (polar) and
The cockpit pilot, for tiller or wheel is not a pilot capable of steering all vessels irrespective of weather conditions. It is reserved for vessels of less than 12m. For larger craft and all-weather use, one must move toward in-board pilots.For boats with tillers, all models presented have sufficient thrust. What makes them different is the response time. If your boat is highly reactive, it is imperative to take a model with a rapid reaction time (4 seconds max.) Contrarily, if they have a slow reaction time you may select a unit with a longer response time. For boats equipped with a wheel, the market choice remains very limited.
Tips Pilots are powerful and should hold whatever the conditions. It is evident that if the boat is poorly set, or overpowered, the pilot will maintain course to the detriment of power consumption. The advice before engaging the pilot therefore is to set the sails. Do the same henever conditions change. Your boat will work better and you will
We can therefore use these functions in turn or simultaneously as needed, knowing that they are both complementary and interrelated.
Two side beams sweep the sides, with a theoretical range of 110 m each. Unlike conventional cone-shaped beams, the beams Side Imaging are very thin in their horizontal dimension, but very wide in the vertical dimension. They therefore behave like acoustic curtains that you walk about at right angles to each side of the boat. To obtain a good side image, it is important that the boat is constantly moving at high speeds (between 1 and 3 knots), preferably in a straight line to avoid distortions. The strong echoes are displayed in clear, those of medium intensity in neutral tone, and those of low intensity dark. The images back, hard bottoms, objects well separated from the bottom return stronger echoes that appear
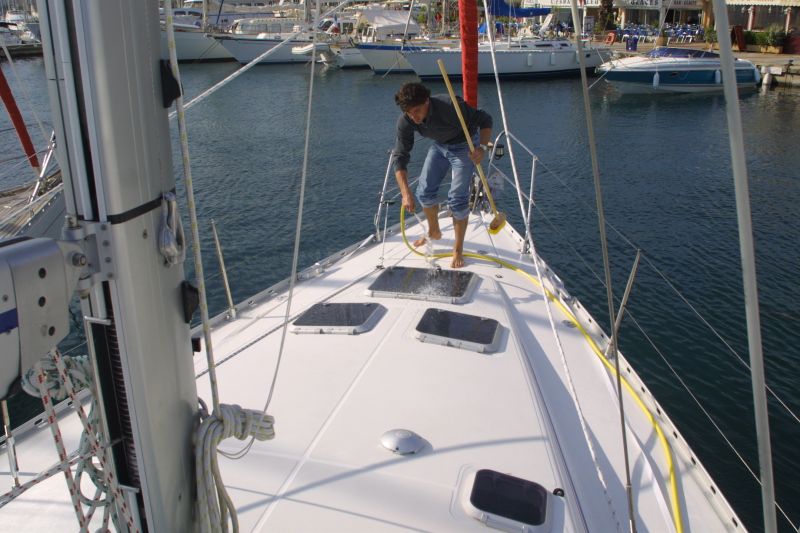
Installed on the deck a hatch is subjected to weather and dirt. So that it keeps its transparency, minimal maintenance is required. First, after each trip, rinse with fresh water to remove salt. If the glace has micro-scratches you can remove them with the help of certain products (see plexi polish in the catalogue)as well as a little elbow grease.If the hatch has significant scratches, or internal micro-cracks(due to aging,)it is necessary to change the glass. On the panels with screw closing, never overtighten. Avoid grease on the joints, it holds dirt and forms a kind of glue with salt which damages the rubber.
Changing the glass
Before commencing any change make sure what you need remains available on the market. One may also adapt a sheet of flexi to fit. On some older models the entire hatch must be changed. First, one must remove the old glass by cutting the adhesive film between it and the frame. The longest is the old joint of the alu frame; after cleaning one uses
 Two side beams sweep the sides, with a theoretical range of 110 m each. Unlike conventional cone-shaped beams, the beams Side Imaging are very thin in their horizontal dimension, but very wide in the vertical dimension. They therefore behave like acoustic curtains that you walk about at right angles to each side of the boat. To obtain a good side image, it is important that the boat is constantly moving at high speeds (between 1 and 3 knots), preferably in a straight line to avoid distortions. The strong echoes are displayed in clear, those of medium intensity in neutral tone, and those of low intensity dark. The images back, hard bottoms, objects well separated from the bottom return stronger echoes that appear