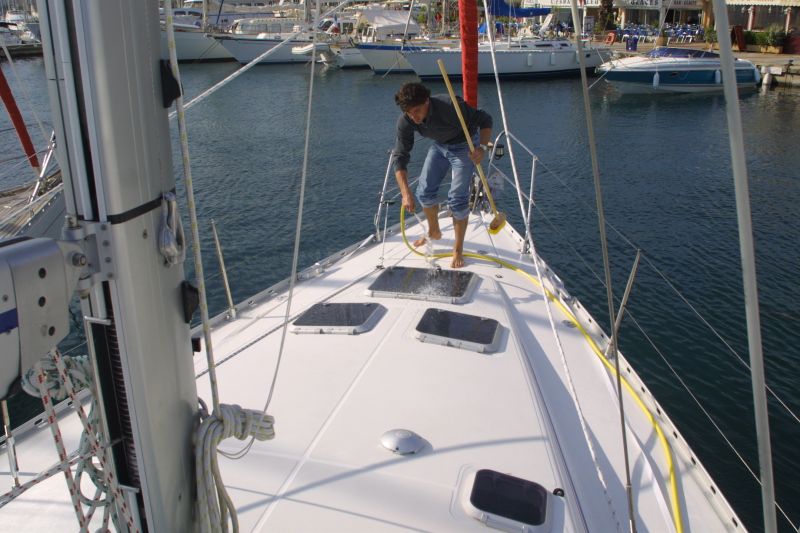
Brightness, ventilation and above all waterproofing
Maintenance
Installed on the deck a hatch is subjected to weather and dirt. So that it keeps its transparency, minimal maintenance is required. First, after each trip, rinse with fresh water to remove salt. If the glace has micro-scratches you can remove them with the help of certain products (see plexi polish in the catalogue)as well as a little elbow grease.If the hatch has significant scratches, or internal micro-cracks(due to aging,)it is necessary to change the glass. On the panels with screw closing, never overtighten. Avoid grease on the joints, it holds dirt and forms a kind of glue with salt which damages the rubber.
Changing the glass
Before commencing any change make sure what you need remains available on the market. One may also adapt a sheet of flexi to fit. On some older models the entire hatch must be changed. First, one must remove the old glass by cutting the adhesive film between it and the frame. The longest is the old joint of the alu frame; after cleaning one uses the products in the kit. Note, certain makers refuse to change individual hatches and do not sell repair kits. Nothing prevents you attempting to change them yourself.
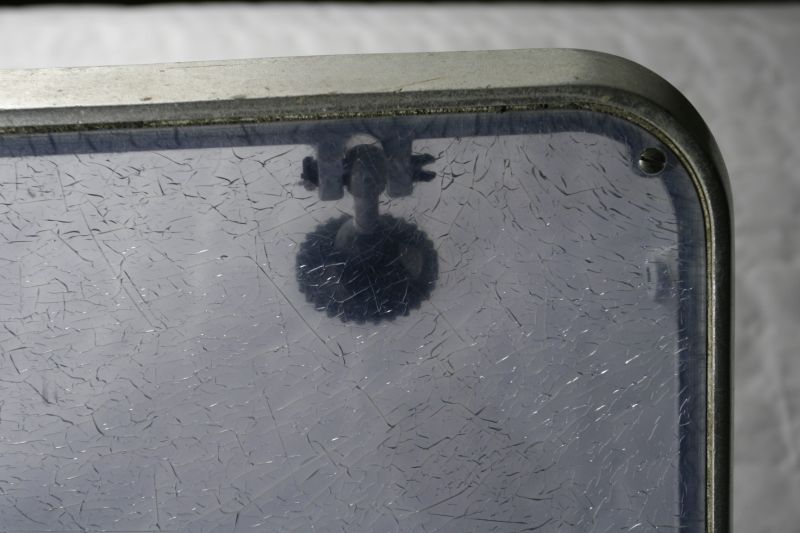
Les micro-cassures internes ne nuisent pas à l'étanchéité mais limite le passage de la lumière.
Installing a new hatch
The hatches are designed to be installed on a flat surface (tolerance +/-1mm.)If this is not possible, it is necessary to provide a frame for holding it in place. It is the same for skylights. One may not install a hatch or skylight anywhere (some areas have structural importance,) check first with your AD store or the boat’s manufacturer.
Accessories
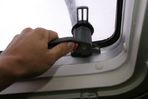
In our guide, you will find all the replacement parts (handles, crutches, joints,) for most large brands. Note also accessories such as mosquito nets, aerator, blinds…)
Professional Advice
“Changing a panel isn’t only for comfort. The new models have friction hinges, this avoids any struggle to open them.”